What Blocks Your ADAS Camera
Eight everyday things blind the camera behind your windshield, and most of them take two minutes to clear.

Key takeaways
- An ADAS camera blocked message almost always means something is in front of the lens, not a failed camera.
- Film on the inside of the windshield is the single most common cause, ahead of ice, glare, and weather.
- Dash cams, glass chips, wax smears, and lost calibration can also block or disable the camera.
- Cleaning both sides of the glass in the camera's patch and taking a short drive clears most of these warnings.
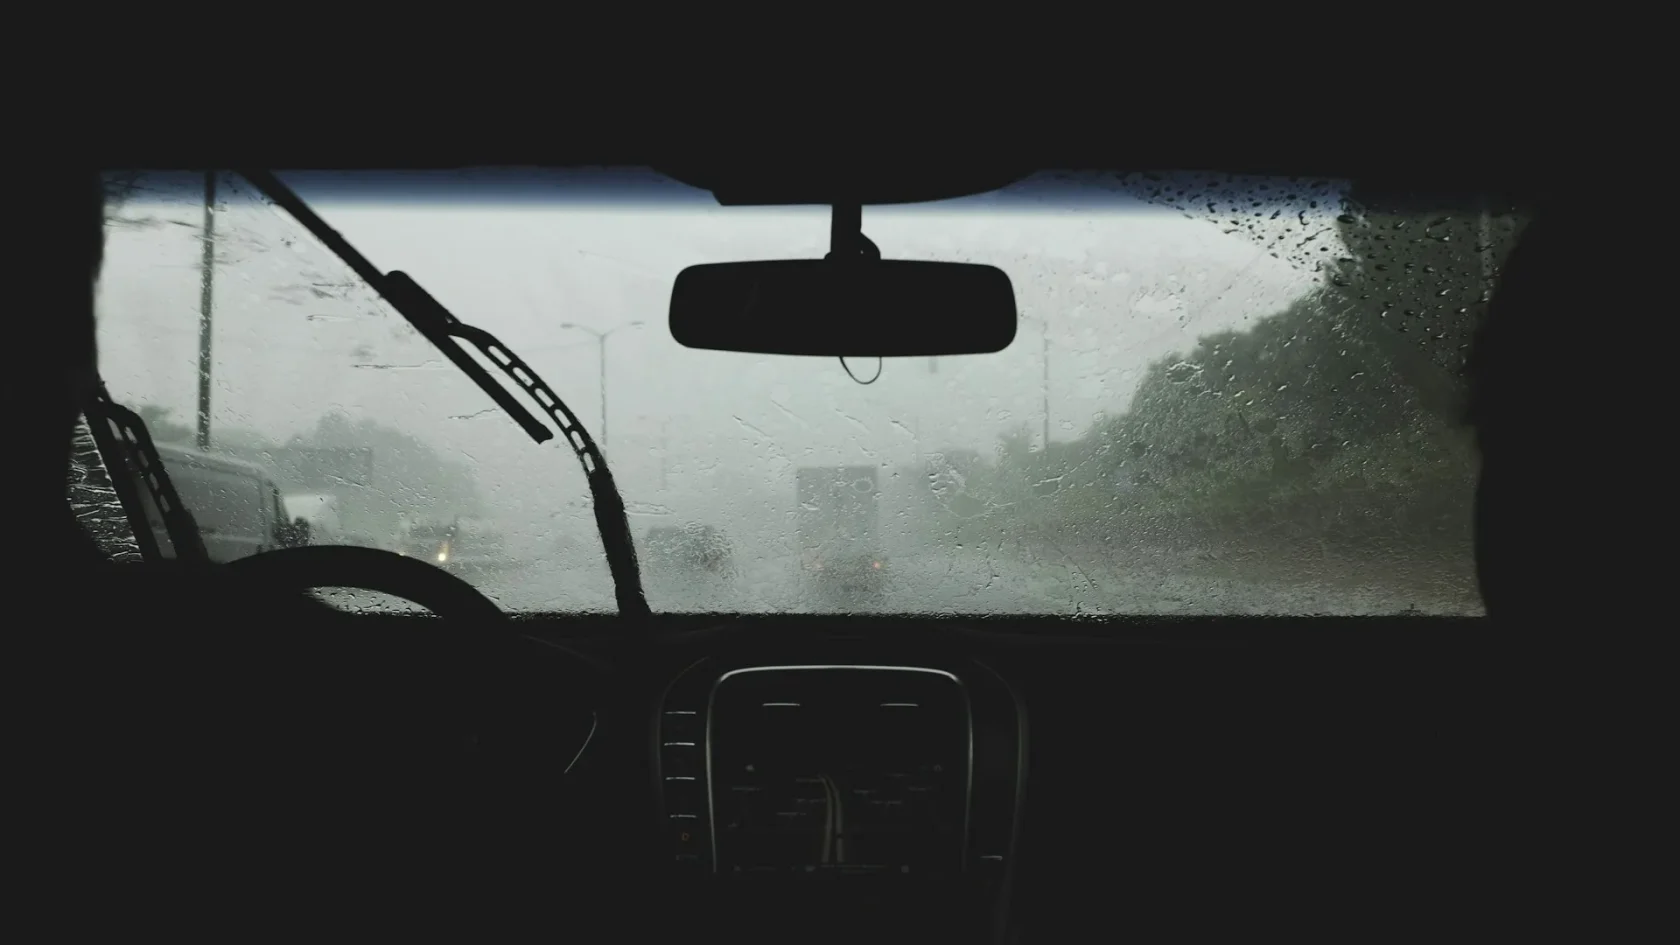
If your dash just threw a message like Front camera unavailable, Windshield camera blocked, or a little windshield icon with a slash through it, take a breath. In almost every case this is not a broken camera. It is a camera that cannot see, and something small and fixable is sitting between the lens and the road.
I spent years aiming these cameras for a living, and the blocked warning was the single most common call that turned out to be nothing serious. A driver would panic, book a diagnostic, and the real cause was a smear of wax or a stripe of morning frost. So before you spend a dime, let me walk you through the eight usual suspects, how to spot which one is yours, and the two-minute routine that clears most of them.
The camera lives high on the windshield, tucked behind the rearview mirror, looking forward through a small clean patch of glass. Anything that fogs, films, or covers that patch can trip the warning. Here is the full list, roughly in the order I ran into them.
The 8 things that block your forward camera
1. Film on the inside of the windshield
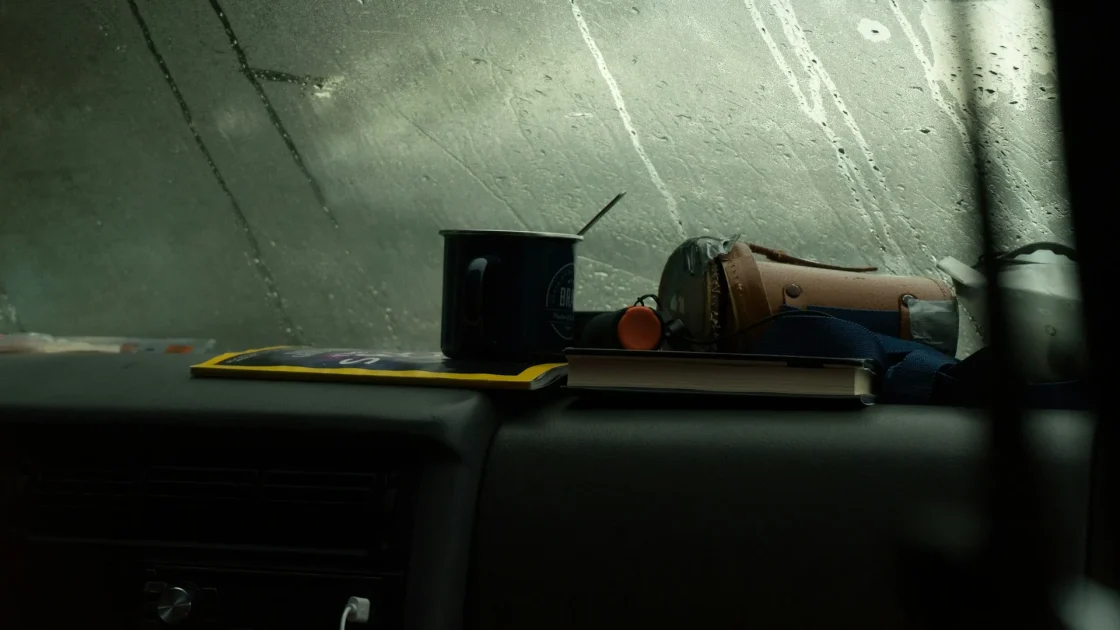
This is the champion. The inside of a windshield collects an oily haze from plastics off-gassing in a hot cabin, plus fingerprints and cleaner residue. You barely notice it by eye, but the camera shoots straight through it, and in low light that haze scatters everything.
Reach up behind the mirror and drag a fingertip across the glass. If it squeaks, you are clean. If it drags and leaves a clear line, that film is very likely your culprit. A single interior clean fixes a surprising number of these warnings.
2. Grime and streaks on the outside
Road salt, bug splatter, hard-water spots, and a wiper blade that smears instead of clears all land right in the camera’s field. A windshield that looks fine at eye level can be filthy in that upper strip the camera actually uses.
3. Ice, snow, and frost
A thin skin of frost you would happily drive through is a solid wall to the camera. Snow packed along the top of the glass, or a sheet of ice the defroster has not reached yet, will hold the warning on until the glass is genuinely clear. Winter is peak season for this one. If you want the deeper version, I go through it in the guide on snow and ice on ADAS sensors.
4. Low sun and glare
Point the car at a sunrise or sunset and the camera can be flooded with light straight down the lens. Combine that with the interior film from number one and the glass lights up like frosted plastic. These warnings tend to appear only at a certain time of day and clear as the sun climbs, which is a strong clue to the cause.
5. Fog, heavy rain, and spray
Dense fog, a downpour, or a wall of spray off a truck can all reduce what the camera sees below the threshold it needs. This is the system being honest. It would rather admit it cannot see than guess at a lane line that is not really there. The warning usually clears on its own once conditions ease.
6. Something mounted in the camera’s window
A dash cam, a toll transponder, a radar detector, or a parking permit stuck too high can sit right in the lens’s path. Even a partial cover confuses the view. I have pulled dash cams off the glass and watched the warning vanish on the next drive. Mount accessories to the side of the camera housing, never in front of its clear window.
7. A chip or crack in the camera’s zone
A stone chip or a spreading crack directly in front of the lens distorts light before it ever reaches the sensor. A crack low on the passenger side may be cosmetic, but the same damage in the camera’s patch is a real problem, and it is one reason a chip in that spot is worth fixing quickly.
8. Wax, rain-repellent, or tint smears
Glass sealants and rain-repellent products are great on the wiper sweep and terrible if they streak across the camera’s window. An uneven coat bends light just enough to blur the view. The same goes for a poorly cut strip of windshield tint. If the warning started right after a detail or a glass treatment, this is your first suspect.
Bonus: a camera knocked out of aim
Sometimes the glass is spotless and the warning still nags. If the camera was recently disturbed, say after a windshield swap or a knock to the mirror area, it may be aimed wrong rather than blocked. That is a calibration issue, not a cleaning one, and it is worth knowing that a windshield swap needs recalibration before the camera trusts itself again.
How to tell which one it is
You can usually narrow it down by asking three quick questions. When does it appear? A warning that only shows at sunrise points to glare and interior film. One that shows in rain or snow points to weather. One that never clears points to a physical block or a calibration problem.
What changed recently? A fresh detail, a new dash cam, a windshield chip, or a cold snap each map to a specific cause on the list above. And finally, does it clear when you clean the glass and drive? If yes, it was an obstruction. If no, you are likely looking at aim or hardware.
Tip
Clean the interior glass in the camera’s patch with a lint-free cloth and a dab of glass cleaner sprayed onto the cloth, not the windshield. Spraying the glass directly can let liquid seep into the camera housing. Wipe, buff dry, then drive.
The fix that works most of the time
Nine times out of ten, this short routine clears the warning without any tools or a shop visit.
-
Clean both sides of the glass
Do the outside of the windshield in front of the camera, then reach up behind the mirror and do the inside. The inside is the one people skip, and it is the one that matters most.
-
Clear any ice, snow, or debris
Give the defroster time to fully clear the top strip of glass, not just your line of sight. Brush away snow packed above the wipers.
-
Remove anything mounted in the lens path
Temporarily pull a dash cam or transponder that sits near the camera and see if the warning behaves differently.
-
Take a short, steady drive
Ten to fifteen minutes on a road with clear markings lets the system re-check the camera and clear the warning on its own. Many cars will not drop the message until they confirm a good view at speed.
If cleaning and driving does not do it, the next steps look a lot like clearing any other assist fault. My walkthrough on fixing a clean front camera message covers the same family of warnings, and the general method in how to clear an ADAS warning light applies here too.
When it is not a simple block
A warning that returns in clean, clear, dry conditions with nothing mounted in the way is telling you something. Either the camera has lost its aim and needs calibration, or the module itself has a fault. Neither is a driveway fix.
It helps to know exactly where this camera sits and what it does, which I lay out in the piece on where the forward ADAS camera lives, and the wider tour of the cameras and radar behind ADAS. Treat a stubborn block as a nudge to get the camera looked at, because a camera that cannot see is a lane-keeping and auto-braking system that is switched off.
Watch out
Do not ignore a persistent block just because the car drives fine. The safety features that depend on the camera are off while it is blocked, so you are driving without the backup you think you have. Get it cleared before you next need it.
The reassuring part is that most of these warnings are the car being careful, not the car being broken. Keep the glass in front of the camera as clean as the glass in front of your eyes, watch what you stick to the windshield, and reach for a proper calibration only when cleaning genuinely does not help. According to the Insurance Institute for Highway Safety, these camera-based features measurably cut certain crashes, which is exactly why it is worth keeping the camera able to see.
Frequently asked questions
It means the forward camera behind your windshield cannot see the road clearly, so the car has shut off camera-based features like lane keeping and traffic sign reading. The block is usually dirt, ice, glare, weather, or something mounted over the lens, not a broken camera.
Clean the windshield in the camera's patch on both the inside and outside, clear any ice or debris, and remove anything mounted in the lens path. Then take a steady ten to fifteen minute drive so the system re-checks the camera and clears the warning. If it persists in clear conditions, calibration may be the issue.
Low morning sun sends glare straight into the lens, and the oily film on the inside of the glass lights up under that angle and scatters the view. A warning that appears at sunrise and clears as the sun climbs is almost always interior film plus glare, so cleaning the inside glass usually solves it.
Yes, if it sits in front of the camera's clear window on the glass. Even a partial cover can trigger a fault or make the system misjudge the road. Mount dash cams, transponders, and permits to the side of the camera housing so the lens stays clear.
Keep reading
Related guides
Blind Spot Radar Sensors, Explained
The amber mirror light comes from two small radar units in your rear bumper corners, and here is how they think.
Read guide
Ultrasonic Parking Sensors Explained
How the little round sensors in your bumpers judge distance with sound, and why they beep when nothing is there.
Read guide
Front Grille Emblem and Hidden Radar
That shiny badge on your grille might be the one part of your car you must never replace with chrome.
Read guide