Reset a Lane Departure Warning Light
Give the forward camera a clean look at the road, drive a marked mile, then reset before you pay for anything.

Key takeaways
- A lane departure warning almost always means the forward camera cannot read the lane paint clearly.
- Clean the windshield in front of the camera on both sides first, since interior haze is the top cause.
- Drive several miles at 40 to 55 mph on marked roads so the camera can re-verify and clear the light.
- If the light followed a windshield replacement, the camera needs recalibration, not a reset.
The lane departure warning light is one of the more nagging ones to see, partly because the feature it controls is the one that tugs your wheel or beeps when you drift. When that symbol goes amber and the assist quits, the car has stopped trusting what its forward camera sees. The good news is that resetting it is usually a short, tool-free job.
I aimed and reset these camera systems for years, and a lane departure light almost never means a broken part. It means the camera cannot read the road, a setting got knocked, or a code is hanging around after a glitch. Let me walk you through the reset the way I would on the lift, from the free checks to the one moment you might need a scan tool.
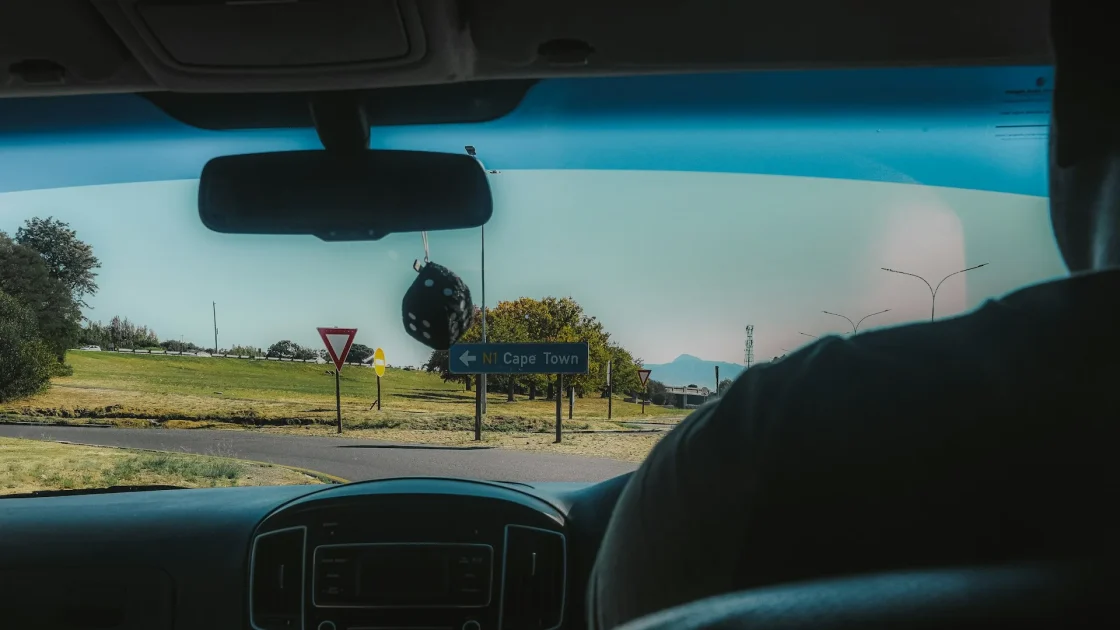
Quick background so the steps make sense. Lane departure warning uses the camera behind your windshield, up by the mirror, to spot the painted lane lines. When it cannot find them, or when it detects a fault in itself, it lights the warning and steps back. To reset it, we give the camera a clear view and let the car confirm everything is fine again.
Start by reading what the light is doing
Not every lane symbol means the same thing. A steady amber warning usually means the system is genuinely unavailable or faulted. A gray or dark icon often just means it is switched off. A green symbol means it is working, and a flashing green one means it is trying to lock onto lines but has not yet.
Knowing the difference saves you from resetting something that is not broken. If your symbol is confusing you, the reference on the lane departure warning light and what it means decodes the states by color and behavior, so you can name yours before you start.
Quick check
Before resetting anything, confirm the feature is actually switched on and that you are on a road with clear lane paint above roughly 40 mph. Many lane systems simply do not arm on faded back roads or at low speed, which looks like a fault but is not.
The reset, step by step
Here is the sequence I use. Most lane departure lights clear by step three, and you rarely need to reach the end.
-
Clean the camera glass, both sides
Find the small camera housing behind the rearview mirror and wipe the patch of windshield directly in front of it. Do the inside too, since dashboard haze on the interior glass is the most missed cause of a lane fault.
-
Remove anything in the camera view
A dash cam, toll transponder, parking permit, or sticker placed too high can clip the camera field. Move anything sitting in its line of sight and out toward the edges of the glass.
-
Drive a marked road at speed
Drive several miles at 40 to 55 mph on a clearly painted road. The camera re-checks itself against the lines, and a genuine clear view usually drops the warning on its own during that drive.
-
Restart the car once
If the light lingers after a good drive, park, switch the car fully off, wait a minute, and restart. This clears many soft, one-time faults that only needed a power cycle.
-
Do a battery-off reset for a stuck code
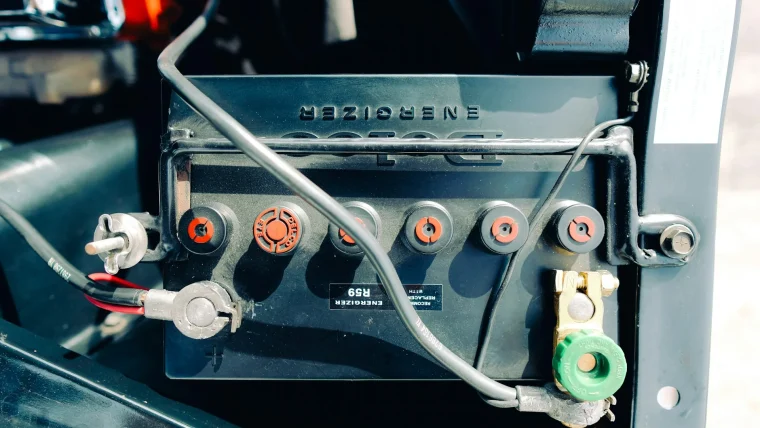
Still lit with a clean camera and clear roads? Disconnect the negative battery terminal for 15 to 20 minutes to reboot the modules and drop a leftover code. Reconnect and drive a cycle again.
Tip
Clean the inside of the windshield in front of the camera first. That oily interior film builds up from the dash over months, sits exactly where the camera looks, and clears more stubborn lane faults than any wipe of the outside glass.
Tell a real fault from normal behavior
A lot of “lane departure not working” calls I took were simply the system behaving as designed. It will not arm without clear paint. It stands down when you signal a lane change. It needs light hands on the wheel. None of those are faults, and no reset changes them.
A green symbol that flashes and never goes solid is usually the camera struggling with faint paint, not a defect. If that is what you are seeing, the breakdown in the lane keep assist light flashing green explains that state. And if the whole family of assist warnings has gone dark at once, the general order in how to clear an ADAS warning light is the master reference to fall back on.
Weather, glare, and the timing that trips it
Plenty of lane departure warnings are really the weather talking. Low winter sun straight into the camera, a snow line covering the lane paint, heavy rain, or fog can all make the camera lose the lines and post a temporary warning. Those clear themselves once the view improves, so a warning that only shows at sunrise or in a downpour is rarely a fault at all.
A Subaru I reset one January had a lane light that came on every clear morning and vanished by ten. The owner was ready to pay for a camera. It was frost forming on the inside of the glass right at the camera, thawing as the cabin warmed. A quick wipe and a habit of clearing that spot ended it. If winter is your trigger, the rundown on snow and ice on ADAS sensors is worth a read before you spend a cent on parts.
When the reset will not hold
If you have cleaned the camera, cleared the view, driven a marked road, and tried a battery reset, and the lane light keeps coming back, the reset is not the answer. The two usual causes are a code too stubborn to self-clear and a camera knocked out of calibration.
The calibration case is the big one, and it is specific. If the light appeared right after a windshield replacement, the camera almost certainly needs re-aiming, because even the correct glass moves it out of true. The explainer on why a windshield swap needs recalibration covers exactly why a reset cannot substitute for that. For a stuck code with no bodywork history, whether you need a scan tool to reset ADAS tells you when to reach for one.
For the safety context on why the lane systems are worth keeping alive rather than disabling, the Insurance Institute for Highway Safety tracks how much they cut real-world crashes: IIHS lane departure prevention.
So run it in order: read the light, clean the glass, clear the view, drive a marked road, then reset. The overwhelming majority of lane departure warnings I handled cleared before the battery ever came into it. Get the camera a clean look at the road and it usually starts trusting the lines again on your very next drive.
Frequently asked questions
Clean the windshield in front of the forward camera on both sides, remove any dash cam or sticker in its view, then drive several miles at 40 to 55 mph on a clearly marked road so it can re-verify. If it lingers, restart the car, and for a truly stuck code, disconnect the negative battery terminal for 15 to 20 minutes. Most lights clear well before the battery step.
The most common triggers are a dirty or hazed camera, faded lane paint, or a one-time software glitch. The camera reads the painted lines through the windshield, so anything blocking or fogging that patch of glass can set the warning. Clean the glass, drive a well-marked road, and it usually clears on its own.
Usually yes. Cleaning the camera, driving a marked road, and a battery-off reset clear the large majority of lane departure warnings without any tool. You mainly need a scan tool when a code is too stubborn to self-clear, or when the real issue is calibration after a windshield replacement, which a scan and targets fix rather than a home reset.
A new windshield moves the forward camera enough to throw off its aim, even when the correct glass was fitted. The camera must be recalibrated with proper targets so it knows where straight ahead is. No home reset will clear it in that case, so book an ADAS calibration.
Keep reading
Related guides
Does Disconnecting the Battery Reset ADAS?
The battery-pull myth, answered straight: what it clears, what it cannot, and when it is worth trying.
Read guide
Clear a Parking Assist Fault Yourself
Clean, reset, then hunt the one dead sensor: the fifteen-minute driveway fix for a parking aid warning.
Read guide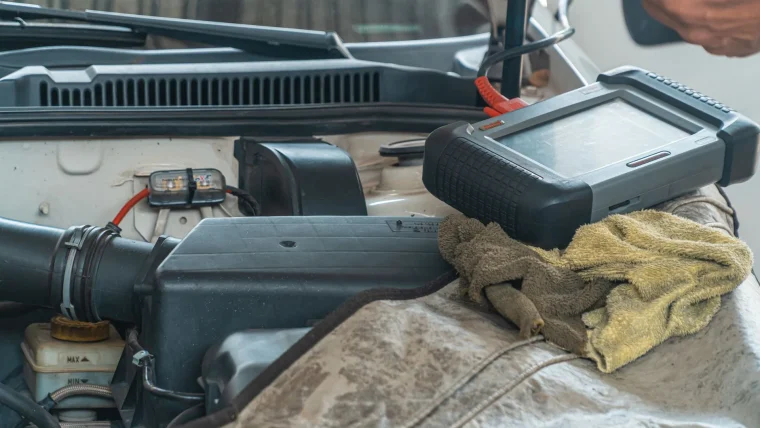
When a Reset Won’t Work: Next Steps
When the light keeps returning no matter what you try, here is what is actually going on.
Read guide