What a Drive Cycle Is and How to Do It
A plain-English guide to the drive that lets your car finish its self-checks and clear a light.

Key takeaways
- A drive cycle lets your car complete its readiness monitors so it can confirm a fix and clear a light.
- It confirms a repair but never performs one, so a blocked or miscalibrated sensor still fails the test.
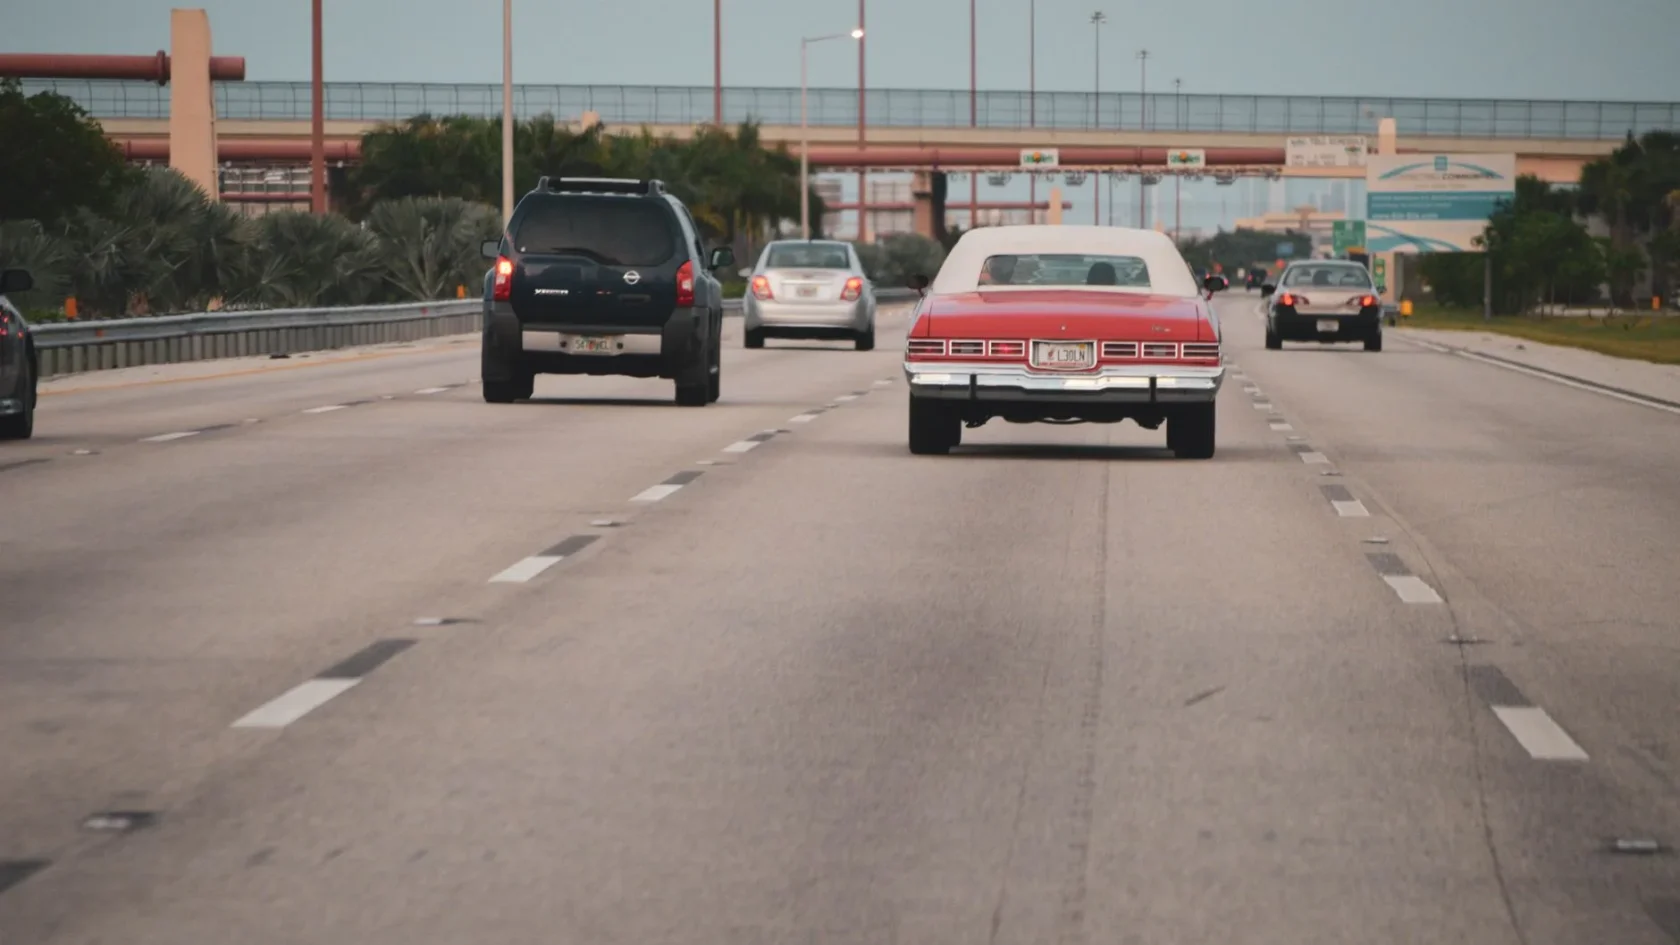
- Aim for 15 to 20 minutes with steady time at 40 to 55 mph plus some gentle stop-and-go.
- If the light stays on after a full cycle, the underlying fault was likely never fixed.
Somebody tells you to “do a drive cycle” to clear an ADAS light, and you nod like you know what that means. Most people do not, and that is fine, because it is one of those shop phrases that sounds more technical than it is. A drive cycle is really just driving your car through a specific set of conditions so its computers can finish checking themselves.
I leaned on drive cycles constantly when I calibrated and reset these systems, because they are the free, no-tool way to let a car confirm a fix and turn a light back off. Let me show you exactly what a drive cycle is, when it actually helps, and how to do one properly so you are not just driving in circles hoping.
The short version: after a reset, a repair, or a battery event, your car’s driver-assist modules run internal self-tests called readiness monitors. Those tests only complete under certain conditions of speed, time, and steadiness. Meet the conditions and the monitors pass, the system re-verifies its sensors, and any leftover warning clears. That structured drive is the drive cycle.
What a drive cycle actually does
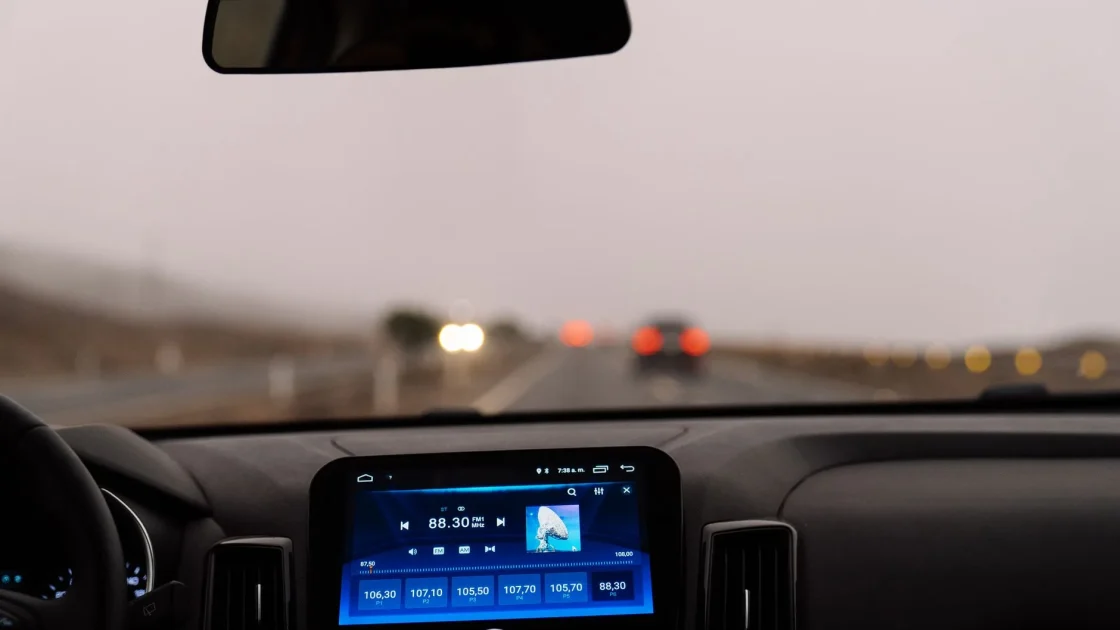
Think of it as giving the car a chance to take its own exam. When a module powers up after a reset or a fix, it does not instantly trust that everything is fine. It waits until it can watch the sensors under real driving, at the right speeds, for long enough to be confident. Only then does it mark itself ready and drop the warning.
This is why a light sometimes does not clear the second you finish a repair or a reset. The car has not completed its checks yet. It needs a proper drive to confirm the camera sees the road, the radar tracks traffic, and the readings are stable. A drive cycle is simply you providing those conditions on purpose instead of by luck.
Good to know
A drive cycle confirms a fix. It does not perform one. If a sensor is still blocked, out of calibration, or failing, no amount of driving will clear the light, because the self-test will keep finding the real fault.
When a drive cycle is the right move
Reach for a drive cycle after you have addressed the actual cause of a warning and just need the car to catch up and confirm it. The classic cases are these.
- You cleared a code or reset a module and the light has not gone out yet.
- You cleaned a blocked camera or radar and want the system to re-verify itself.
- You reconnected the battery and some assist features need to relearn.
- A shop finished a repair and told you to drive it to complete the readiness monitors.
In each of those, the fix is done and the drive cycle is the final step. If you have not actually fixed anything yet, start with the cause instead. The guide on how to clear an ADAS warning light walks through addressing the root problem first, which is the part that has to come before any drive cycle.
How to do an ADAS drive cycle
Exact steps vary by manufacturer, but the shape is the same across almost every car I worked on. Follow this and you will complete the readiness monitors on the large majority of vehicles.
-
Start cold if you can
Let the car sit a few hours or start it first thing. Some monitors only run through a full warm-up from a cold start, so a cold beginning gives the best odds.
-
Idle briefly, then drive gently
Let it idle for a minute or two, then pull away smoothly. Avoid hard acceleration and hard braking, which can interrupt the tests.
-
Get steady time at road speed
Reach 40 to 55 mph on a clearly marked road and hold it as steadily as you can for several minutes. This is where the camera and radar do most of their self-checking, so lane paint and clear conditions matter.
-
Include some stop-and-go
Mix in a few normal stops from moderate speed and gentle restarts. Some monitors need both cruising and slowing to complete.
-
Drive a solid 15 to 20 minutes
Keep the whole cycle going for a good 15 to 20 minutes without shutting the engine off. Cutting it short is the top reason a cycle fails to complete.
Watch out
Do the drive cycle where it is safe to hold a steady speed and keep light attention on the road, not in heavy city traffic. Never fixate on the dash waiting for the light to change. Glance at it only when you are safely stopped.
If the light will not clear after a full cycle
Complete a proper cycle and the light still burns, and the car is telling you something real. The self-test ran, checked the sensors, and found a fault it will not clear. That is your signal to stop driving in hope and start diagnosing.
The most common reason a cycle fails to clear a light is that the underlying problem was never fixed. A camera still blocked, a radar still dirty, or a sensor still out of aim will fail the monitor every time. Sometimes the code is simply too stubborn for a self-clear and needs a scan tool, which the piece on whether you need a scan tool to reset ADAS explains in plain terms.
It is also worth knowing that a battery disconnect and a drive cycle are different tools that people confuse. The rundown on whether disconnecting the battery resets ADAS clears up what each one can and cannot do. And if a light keeps returning after resets and cycles, the honest next-steps guide in when a reset will not work tells you where to go from there.
One more thing to rule out: a light that will not clear after cleaning and cycling often means the sensor needs recalibration, not resetting. If you recently had a windshield, bumper, alignment, or tire change, look for the warning signs described in signs your ADAS needs recalibration, and read the full ADAS calibration guide to understand what that job involves.
For the official framing on how these readiness and self-diagnostic systems are meant to work, the National Highway Traffic Safety Administration keeps a clear overview of the technologies and what they check: NHTSA driver assistance technologies. Do the cycle right after a real fix and it is a genuinely useful, free step. Do it hoping to paper over a broken sensor and it will only tell you, again, that the sensor is broken.
Frequently asked questions
It is driving your car through a specific set of conditions so its driver-assist computers can finish their internal self-tests, called readiness monitors. Those tests only complete at certain speeds and over enough steady time. Once they pass, the system re-verifies its sensors and any leftover warning light clears.
Plan on a solid 15 to 20 minutes of continuous driving without shutting the engine off. You want several minutes of steady speed around 40 to 55 mph on a marked road, plus some gentle stop-and-go. Cutting the cycle short is the most common reason it fails to complete.
Only if the real problem is already fixed. A drive cycle confirms a repair and lets the car re-verify its sensors, but it does not repair anything itself. If a camera is still blocked or a sensor is out of calibration, the self-test keeps finding the fault and the light stays on.
That means the car's self-test found a real fault, so the underlying cause was likely never fixed. Recheck for a blocked or dirty sensor, and if everything looks clean, the code may need a scan tool to clear. If the light followed a windshield, bumper, alignment, or tire change, the sensor probably needs recalibration rather than a reset.
Keep reading
Related guides
Clear a Parking Assist Fault Yourself
Clean, reset, then hunt the one dead sensor: the fifteen-minute driveway fix for a parking aid warning.
Read guide
Fix a Front Radar Blocked Message
Find the radar behind your grille or badge, clear what is covering it, and drive a cycle before you pay anyone.
Read guide
Reset a Lane Departure Warning Light
Give the forward camera a clean look at the road, drive a marked mile, then reset before you pay for anything.
Read guide