Can You Calibrate ADAS at Home?
The honest answer on home ADAS calibration, from someone who did it professionally for years.

Key takeaways
- Dynamic calibration on some cars can happen on a normal drive, but true DIY static calibration is out of reach for almost everyone.
- The targets, floor space, level ground, and scan tools a proper calibration needs cost far more than a shop visit.
- A wrong calibration is worse than none, because the car will trust a sensor that is aimed at the ditch.
- You can prep well at home: clean sensors, correct tire pressure, and remove cargo before a shop appointment.
The question lands in my inbox almost every week, usually phrased with a mix of hope and stubbornness. The person just paid to replace a windshield, saw a calibration line on the estimate, and wants to know if they can skip it by doing the job themselves in the garage. I get the instinct. I spent years on the shop side of this, and I still want to fix things in my own driveway when I can.
So let me answer it the way I would answer a friend who knows their way around a socket set. The honest picture is more nuanced than a flat yes or no. Part of ADAS calibration is genuinely off limits for a home setup, part of it happens on a normal drive whether you plan it or not, and there is real, useful work you can do at home that makes the paid job cheaper and more likely to pass the first time.
This is a plain look at what is realistic, what is not, and where people get themselves into trouble trying.
Static versus dynamic, and why it decides everything
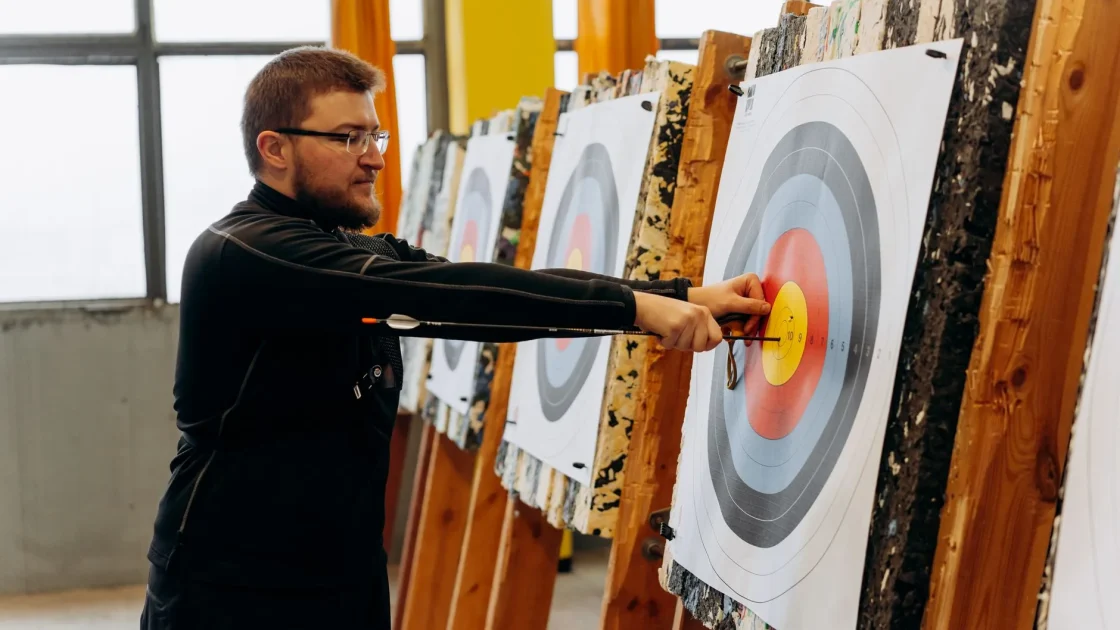
The first thing to understand is that calibration comes in two flavors, and they have completely different requirements. The split between static and dynamic ADAS calibration is the single fact that decides whether a home attempt is even conceivable.
Static calibration happens with the car parked and stationary. A technician sets up printed target boards at exact measured distances and heights in front of the car, then the scan tool tells the camera or radar to study those targets and learn where straight ahead is. The precision here is unforgiving. The targets have to be square to the vehicle centerline, the floor has to be genuinely level, and the measurements are taken to the millimeter.
Dynamic calibration is different. The car learns by driving. The technician plugs in a scan tool, starts a calibration routine, then drives at a specified speed on a road with clear lane markings while the system watches the world and settles itself. Some cars use one method, some use the other, and plenty use both for different sensors.
Note
If your car uses dynamic calibration for its forward camera, that part effectively happens on a normal highway drive with the right tool running. If it uses static calibration, you need target boards and a controlled bay. Most people have neither.
What a real static calibration setup costs
People imagine DIY means cheap. With static calibration, it is the opposite. To do it correctly at home you would need the manufacturer target boards for your specific car, a scan tool capable of running the calibration routine, a laser or plumb setup to find the vehicle centerline, and a floor flat enough to trust.
The target boards alone run into hundreds of dollars per pattern, and different systems use different patterns. A capable scan tool with calibration functions is a four-figure purchase for the good ones. Add the space requirement, and you can see why this does not pencil out for a one-time job. The piece on how much ADAS calibration costs lays out the shop pricing, and once you compare it to buying the equipment, the math answers itself for a single vehicle.
There is a reason shops invest thousands in a calibration bay and then charge a fraction of that per car. The gear is expensive precisely because the tolerances are tight. That expense is the whole point.
The mistake that makes DIY genuinely dangerous
Here is the part I want to be blunt about, because it is where good intentions cause real harm. A calibration that is done wrong is worse than no calibration at all.
If you skip calibration entirely, the car often knows. It throws a warning, disables the feature, and tells you the system is unavailable. You lose the safety net, but you know you lost it. If instead you run a botched home calibration and the routine completes, the car now believes the sensor is aimed correctly when it is not. It will trust a camera that thinks the lane is three feet to the left of where it actually is.
That is the scenario that ends with automatic braking firing at a shadow, or lane keeping steering you toward the shoulder. The overview of what happens when you skip calibration covers the risks of leaving it undone, but a false-pass calibration is arguably worse, because you have taught the car to be confidently wrong.
Watch out
Do not chase a generic online calibration procedure or a cheap knockoff target for a system as safety-critical as automatic braking or lane keeping. A completed calibration that is off by a degree is a system that acts on bad data without warning you.
What you actually can do at home
None of this means you are helpless in the driveway. There is genuinely useful work you can do yourself, and it either solves the problem outright or makes the paid calibration smoother and cheaper.
Start with cleaning. A huge share of the ADAS warnings I chased were never calibration problems in the first place, just a blocked sensor. If your light appeared without any windshield or bumper work, learn where your sensors sit and clean them properly. The guide on cleaning ADAS sensors the right way walks through it without damaging the lenses or radar covers.
Then handle the things a calibration depends on but that are firmly DIY:
- Set every tire to the door-jamb pressure. A soft tire changes ride height and throws sensor aim off before you even start.
- Remove heavy cargo, roof loads, and anything in the trunk that alters how the car sits.
- Reset the tire size in the system if you changed wheel or tire dimensions, following the steps on resetting tire size for ADAS accuracy.
- Make a note of exactly what triggered the warning, whether a windshield swap, a bumper repair, or an alignment, so the shop knows which sensors to target.
Do that prep and you may find the warning clears on its own, or that your appointment goes faster because the car is already sitting the way it should.
When a drive alone can settle it
On cars that use dynamic calibration, there is a narrow case where a normal drive does most of the work. After certain resets, the forward camera will relearn on its own during regular highway driving, a process related to a drive cycle. This is not you performing a calibration, it is the car finishing one it already started.
The catch is that it still usually requires a scan tool to initiate the routine, and it only applies to dynamic systems. If your car needs static calibration, no amount of driving will complete it. You cannot drive your way out of a target-board requirement.
The National Highway Traffic Safety Administration keeps a plain overview of these systems and why their proper function matters, which is worth a read before you decide to go it alone: NHTSA driver assistance technologies.
Dealer, independent, or mobile instead
If the honest verdict is that you should not attempt the calibration yourself, the good news is you have more options than a dealer counter. Independent shops with the right equipment often charge less than the dealership for the same work, and the comparison of a dealer versus independent ADAS calibration helps you weigh them.
There is also mobile calibration, where a technician brings the gear to your driveway. It is convenient, though it comes with real caveats about lighting and level ground, which the piece on whether mobile ADAS calibration is reliable covers. For a full grounding in the whole process, the complete guide to ADAS calibration is the place to start.
My honest take, after all those calibrations, is this. Treat home calibration the way you would treat setting your own broken bone. You can clean the sensors, get the tire pressures right, strip out the cargo, and hand the shop a car that is ready to go. Leave the target boards and the millimeter measurements to the people with the bay built for it. Your future self, merging on a wet highway trusting the lane assist, will be glad you did.
Frequently asked questions
For most people, no, not the static portion. True static calibration needs manufacturer target boards, a capable scan tool, level flooring, and precise measurements that are not practical to set up at home for a single car. Some cars do part of their calibration dynamically on a normal drive, but that still typically requires a scan tool to start the routine, and it only applies to dynamic systems.
Almost never for a one-time job. The target boards and a scan tool with calibration functions cost far more than a shop calibration, which is why professional bays are a shared investment. Unless you are calibrating many cars, buying the equipment makes no financial sense compared to paying for the service.
Plenty that helps. Clean the camera and radar sensors, set all four tires to the correct pressure, remove heavy cargo and roof loads, and reset the tire size if you changed wheels or tires. Note exactly what triggered the warning so the shop knows which sensors to target. Good prep can make the paid job faster and cheaper.
In a sense, yes. If you skip calibration, the car usually knows and disables the feature with a warning, so you are aware the safety net is off. A botched calibration that completes leaves the car trusting a sensor that is aimed wrong, so it may act on bad data without any warning at all. That is why safety-critical calibration is best left to a properly equipped shop.
Keep reading
Related guides
How Much Does ADAS Calibration Cost?
A former tech breaks down real ADAS calibration prices, from a simple road drive to a multi-sensor job on a luxury car.
Read guide
Static vs Dynamic ADAS Calibration
Static calibration uses targets in a bay, dynamic uses a road drive, and your car's design decides which one it needs.
Read guide
Mobile ADAS Calibration: Is It Reliable?
When a technician in your driveway is every bit as accurate as a shop, and when the physics say otherwise.
Read guide